钩针编织斜挎包,马鞍包图解
刚刚缝好包带,室内暖光灯下随便拍了几张图片,无滤镜和特效。写好图解与钩织说明,就来给大家更新了。

整体效果图
视频剪辑好会及时更新

侧面俯拍图
话说这个有点费线。
淘宝店铺:木子柯柯手作坊的3号珍珠蕾丝,用了4团多
包包宽18cm,高15cm,厚3.5cm

里面只放了一个手机
不过包包立体感很好,完全不用定型片。

很工整的包包
包带可以根据身高来定,我这里钩了270行,拉伸后长115cm,包带不要钩太长了,钩好用蒸汽整烫定型,定型好的长度合适就好,不然会越背越长哦。

立体感很好
其它钩织要点都写在图解说明中,不明白的可以留言给我

包包细节

最后分享一个半成品效果 特立体
这个是包包没有完工的效果,立在桌子上依然硬挺。
这就是用线的选择,3号蕾丝线,骨感很好,全棉质地,不起球,光泽度也相当不错哦。很多颜色可选,我这里是随手拿了一色进行钩织,如果想换其它色也是可以的。按自己喜好来钩。
下面分享一下图解说明

手写钩织图解

图解第二部分
[注:本文部分图片来自互联网!未经授权,不得转载!每天跟着我们读更多的书]
互推传媒文章转载自第三方或本站原创生产,如需转载,请联系版权方授权,如有内容如侵犯了你的权益,请联系我们进行删除!
如若转载,请注明出处:http://www.hfwlcm.com/info/168147.html
相关文章
-
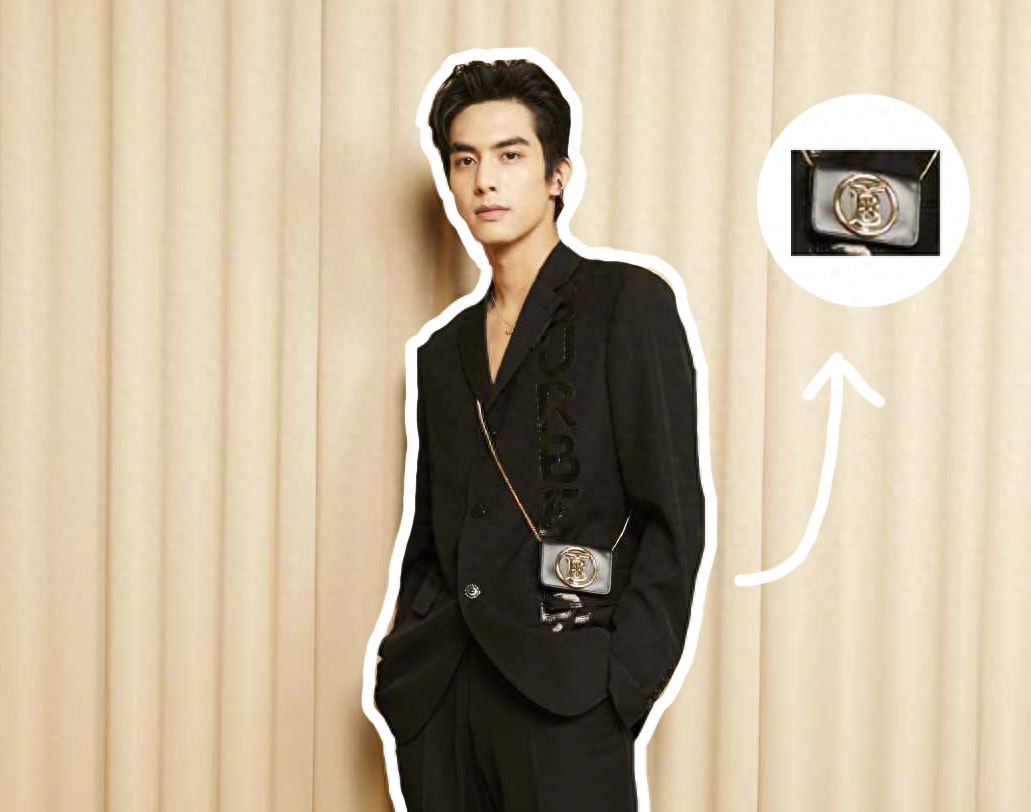
哈喽,大家好我是Lesely,要说2020年明星们最捧的前五位挎包款式,肯定有斜挎迷你包。而且是那种都没有巴掌大的mini包。因为这年头越小的包包越走翘,无论是旅行度假还是参加Part
-
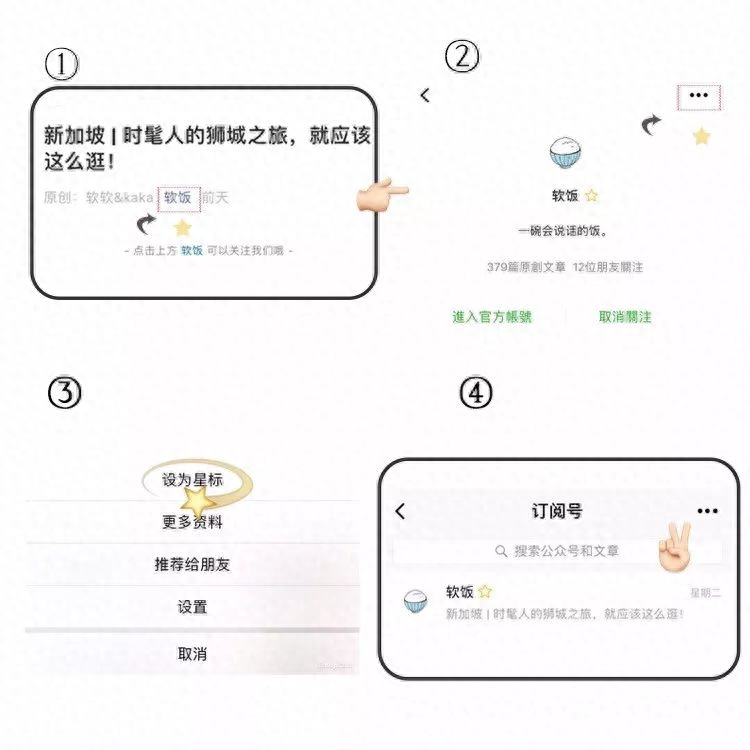
- 点击上方 软饭 可以关注我们哦 -公众号又改版了!为了保证大家能够及时看到最新的文章和各种福利,阅读前可以先按照上面的【星标小教程】操作,这样就不会错过我们的分享啦!
-
-

包大体分:款式包,材质包,功能包,箱体类款式包:女包,男包,手袋,旅行包,学生包,登山包等等材质包:布包,皮包,PVC包,EVA包,帆布包,无防布包,PU包等等功能包:电脑包
-
![一不小心把古驰化妆包改造成了斜挎包~|||嘿嘿当然都是这个斜挎肩带的功劳啦就是图中包包上安装的这个肩带化妆包本来是没有肩带的[装到了]我是很喜欢斜挎背包就自己配了一条到手](http://img.hfwlcm.com/uploads/allimg/20231020/jggg0e5qdqa.jpg)
一不小心把古驰化妆包改造成了斜挎包~|||嘿嘿当然都是这个斜挎肩带的功劳啦就是图中包包上安装的这个肩带化妆包本来是没有肩带的[装到了]我是很喜欢斜挎背包就自己配了一条到手
-

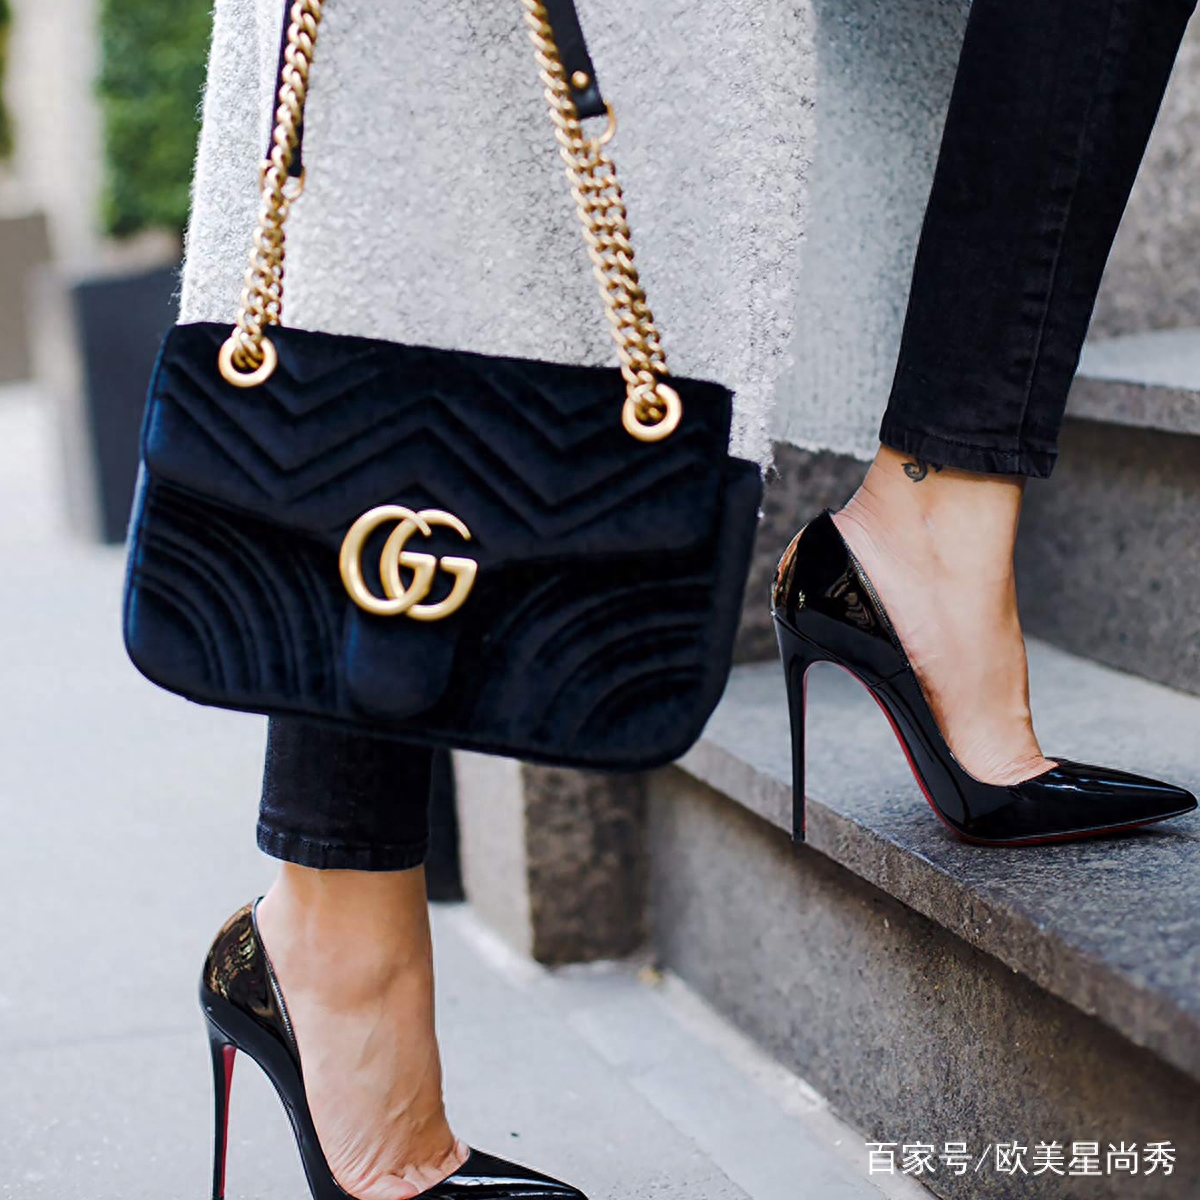
天气渐渐暖起来啦,置办好了新衣服,当然要搭配新包包啦!那说到买包,哈尼们首先会想到谁呢?锵锵锵,当然是洋码头啦!作为知名的独立海外购物平台,洋码头上有很多专业的买
-
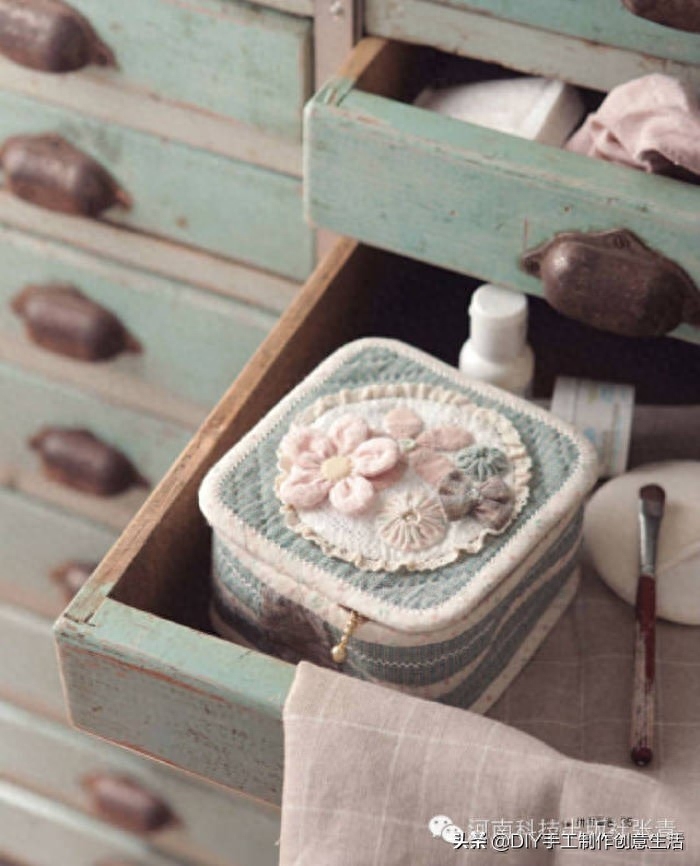
女人,都喜欢包。外出有手提包、双肩包、单肩包、斜挎包……家里还有化妆包、收纳包、首饰包……今天分享的手工制作布艺主题就是包治百病之化妆包,有教程哦!每个女孩都爱美
-
箱包知识-金属扣具有哪些材质呢?包包在人们生活中很常见,我们几乎每个人都会有最少一个以上的包包,女士会多一些,箱包上面不可避免地要用到金属的扣具,金属制品电镀之后光