受够了背包的肩酸?试试腰挎包吧,这里还有制版公式哦~

背包总觉得肩膀又酸又累
快试试这个腰包吧
不光方便扣在腰部
也可以尝试斜挎的方式哦~
图文教程
第一步
sewhome
按下图可以自己计算需要的包包大小,可以做个小款的给孩子用哦。
我的尺寸如下:
A=20cm
B=5cm
C=7cm
Y=15cm
X=24cm
(注意!以上都是净尺寸,需要额外加上1cm缝份哦!)

准备如上面料个1片;拉链1条;包带;卡扣一对。

第二步
sewhome
口袋布的一个长边折叠卷边,缝纫明线。
然后和前片面料对齐,刚才卷缝的口朝上,缝纫中心线。


第三步
sewhome
换上单边拉链压脚,拉链和前片面对面缝纫,然后熨烫平整在面料上再压一道明线固定。


第四步
sewhome
顶片找到弧边的中心点,同样找到拉链的中心,正面对正面从标记的中心点开始往两边缝纫。
然后翻到正面在弧边的面料上再压一道明线压住缝份。


第五步
sewhome
把两个梯形和前片面对面缝纫,注意长侧边相对,梯形尖角朝下。
然后把底片用刚才同样的方式和前片拼合。


第六步
sewhome
剪8cm的包带和一个扣子组合,缝在梯形的拐角位置,注意缝纫时的朝向哦~


准备一根60cm长的包带,一头先和日字扣组合缝纫。
接着像下图这样把卡扣穿好,缝纫在另一头。


第七步
sewhome
最后把前后片面对面缝纫,给缝份进行锁边再从拉链口翻过来。


完成
sewhome

往期推文,干货必读!
【缝纫教程】做一款耐脏又好看的花边袖套,十分钟就能搞定~
旧物大改造,牛仔裤改成平板保护套,酷炫又好用!
蕾丝花边自己也能做!不要再觉得家用机器花样线迹没用啦~
【布艺教程】玫瑰针插针线包,实用又好看,新手必学小手工~
喜欢缝纫之家的,可以点击左下角的“了解更多”咨询小编:缝纫技巧、布艺教程哦~任何一条评论、私信小编都会回复你们的哟~
喜欢看哪些教程,可以在底部评论区留言哦~ 点赞最高的那一位,小编将奉上教程哦
[注:本文部分图片来自互联网!未经授权,不得转载!每天跟着我们读更多的书]
互推传媒文章转载自第三方或本站原创生产,如需转载,请联系版权方授权,如有内容如侵犯了你的权益,请联系我们进行删除!
如若转载,请注明出处:http://www.hfwlcm.com/info/244976.html
相关文章
-
折纸是一件很有艺术感的手工操作,不仅能考验孩子们的想象力,动手操作能力,更能给他们带去很多快乐。孩子的美好童年是需要记录下来的,亲子时光也是有限的,放下手机陪孩子
-
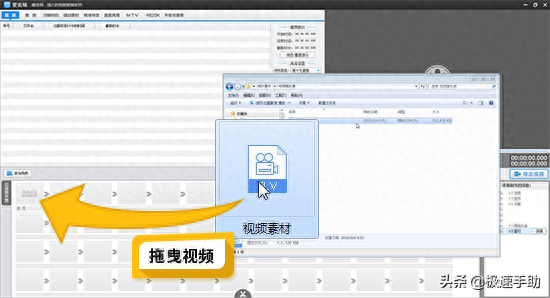
视频和图片可能在我们目前的生活当中,占据了很大的一部分,不管是刷微博,还是刷朋友圈等等,都离不开图片和视频。而随着短视频的流行,更多的人们开始想要自己制作出更为精
-

前几期给大家介绍了一些关于绕线的作品,有的小伙伴们表示单单看图,简单的不想做,难的又看不会,感到挺苦恼的。因此,今日君君挑了一些难度适合的绕线作品教程分享给大家。
-
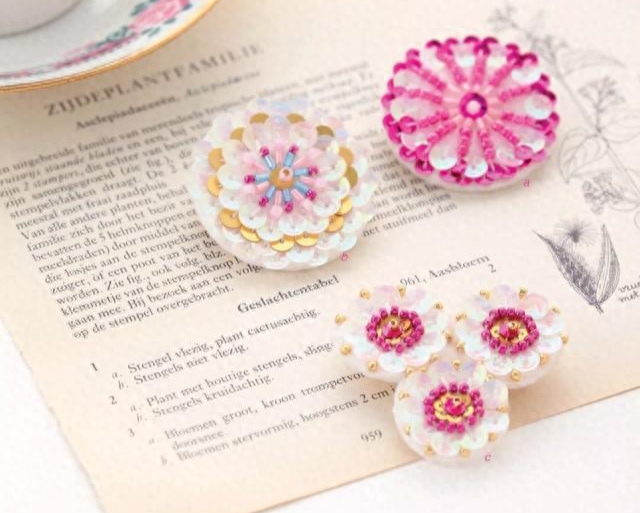
你离小仙女只差一件blingbling的配饰哈喽,大家好!咱们今天分享手工珠绣,闪闪发亮的珠绣饰品!附教程!Part 1 手工珠绣 亮片胸针一枚小小的胸针,不止可以别在衣服上,还可以搭配
-
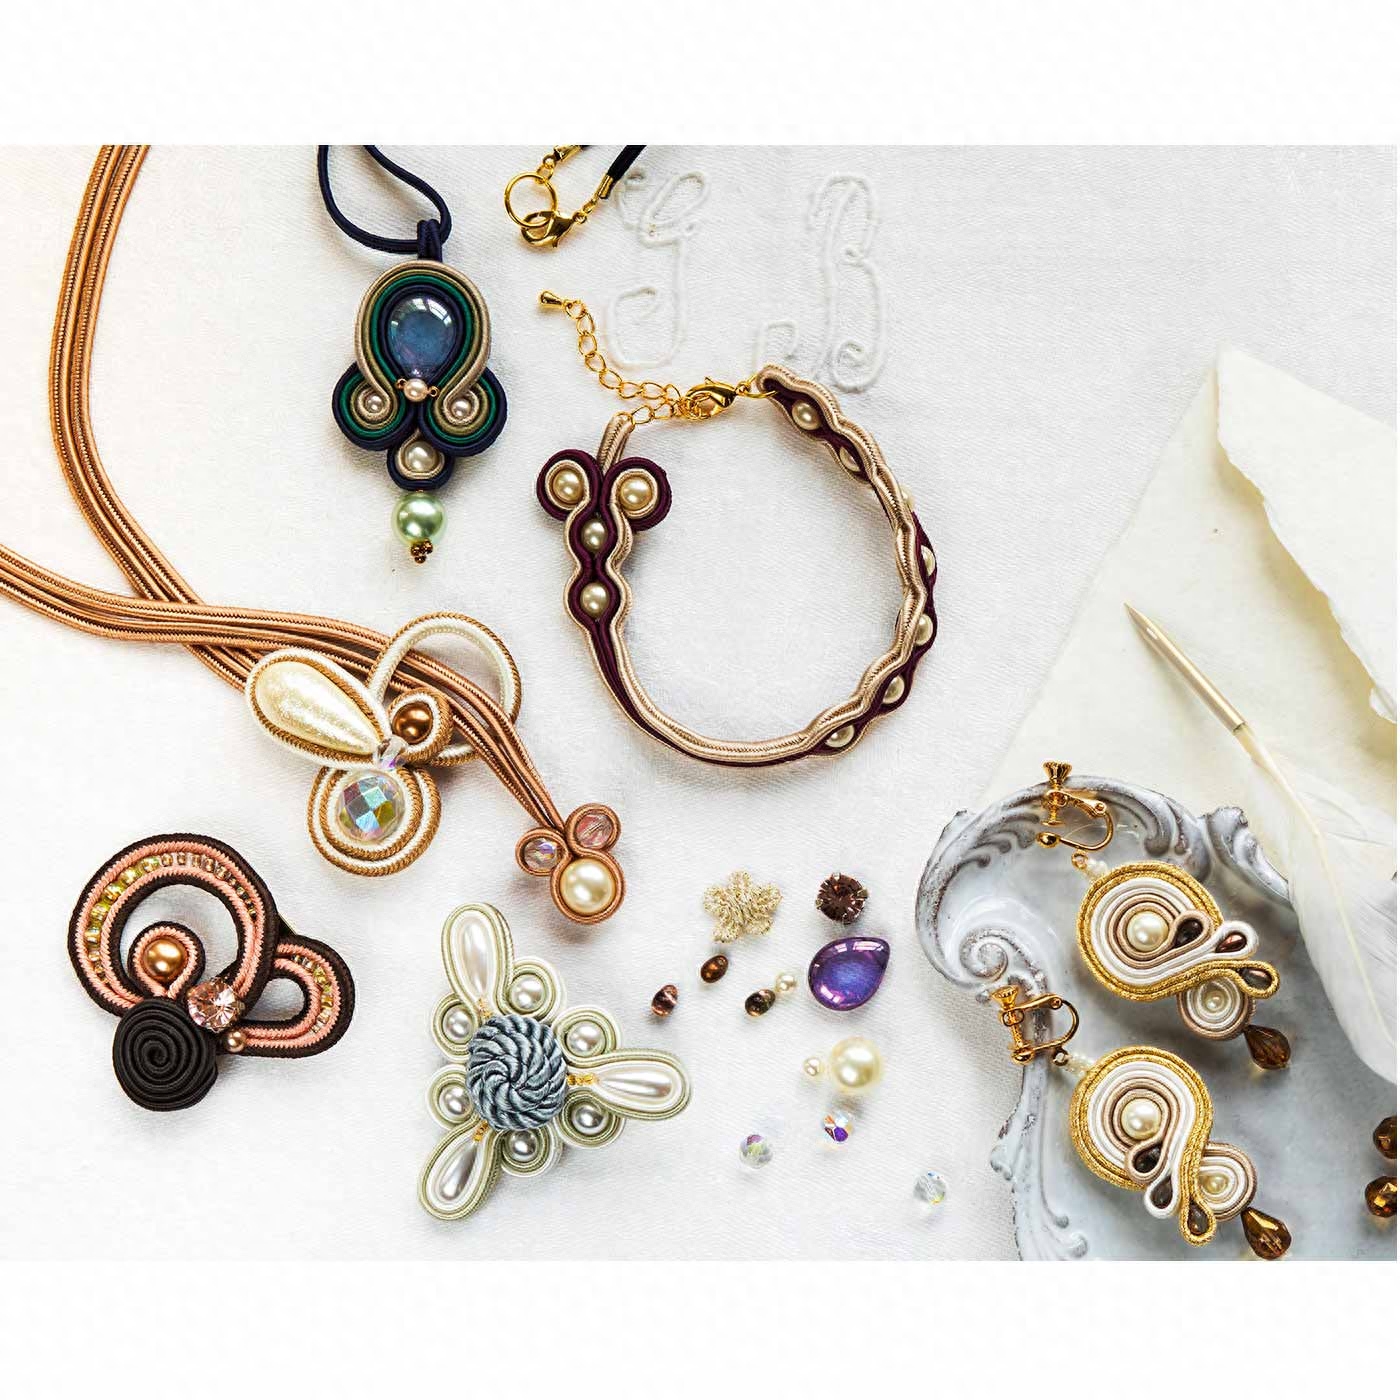
欧洲传统的绳索刺绣6种基本技术制作而成的刺绣套件这次小编要给大家介绍的,是名为"Sautashier"的传统欧洲刺绣套件,日本手作达人的这6种基本技术制作而成的胸针和项链,都只需将绳
-
每个女人都希望有几件属于自己的饰品有人喜欢项链,耳饰而有人更喜欢手链,胸饰这些漂亮的饰品其实自己动动手DIY一件更能体现出饰品的唯美虽然比不上价格昂贵的奢侈品但是自己
-
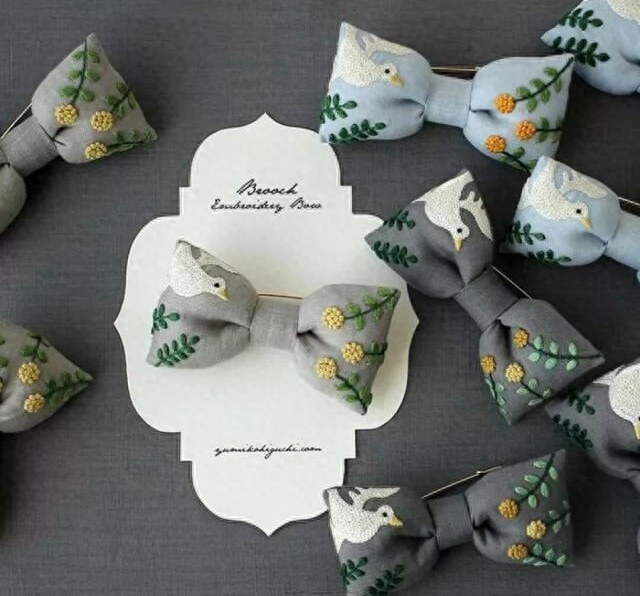
刺绣 | 小清新刺绣饰品,附废弃的布料DIY刺绣花艺发饰教程!泡一杯清茶,读一本好书,看一次人生百态,品一次酸甜苦辣,读书似读人,长知识,磨性情,长经验,明是非,静静感悟
-