【胜家缝纫机】DIY属于自己的贴布,做在衣服上很有个性!
入圈指南:
小编为大家准备了超多缝纫干货,欢迎大家点击下方【缝友社区by缝纫之家】小卡片,入圈探讨一起探讨一下吧~最后100个免费名额大家抓紧了!!!
搜索推荐:
头条搜索缝纫之家,发现更多精彩缝纫视频!

diy贴布也能很有趣,选择自己喜欢的图案或是自己画一个然后装饰在外套上!
来源丨胜家家用缝纫机
1
准备复写纸,铅笔,水溶笔,各种颜色的缝纫线和毛毡布,纸背粘合网(双面衬)。

2
首先要在一张纸上绘制你想要的图案。当然如果手绘功力有限,也可下载一个。

线稿绘制好后,对每个不同区域进行上色。

使用复写纸将线稿图案在描一份。请记住,根据毛毡的厚度,最好不要叠超过3-4片毛毡。

3
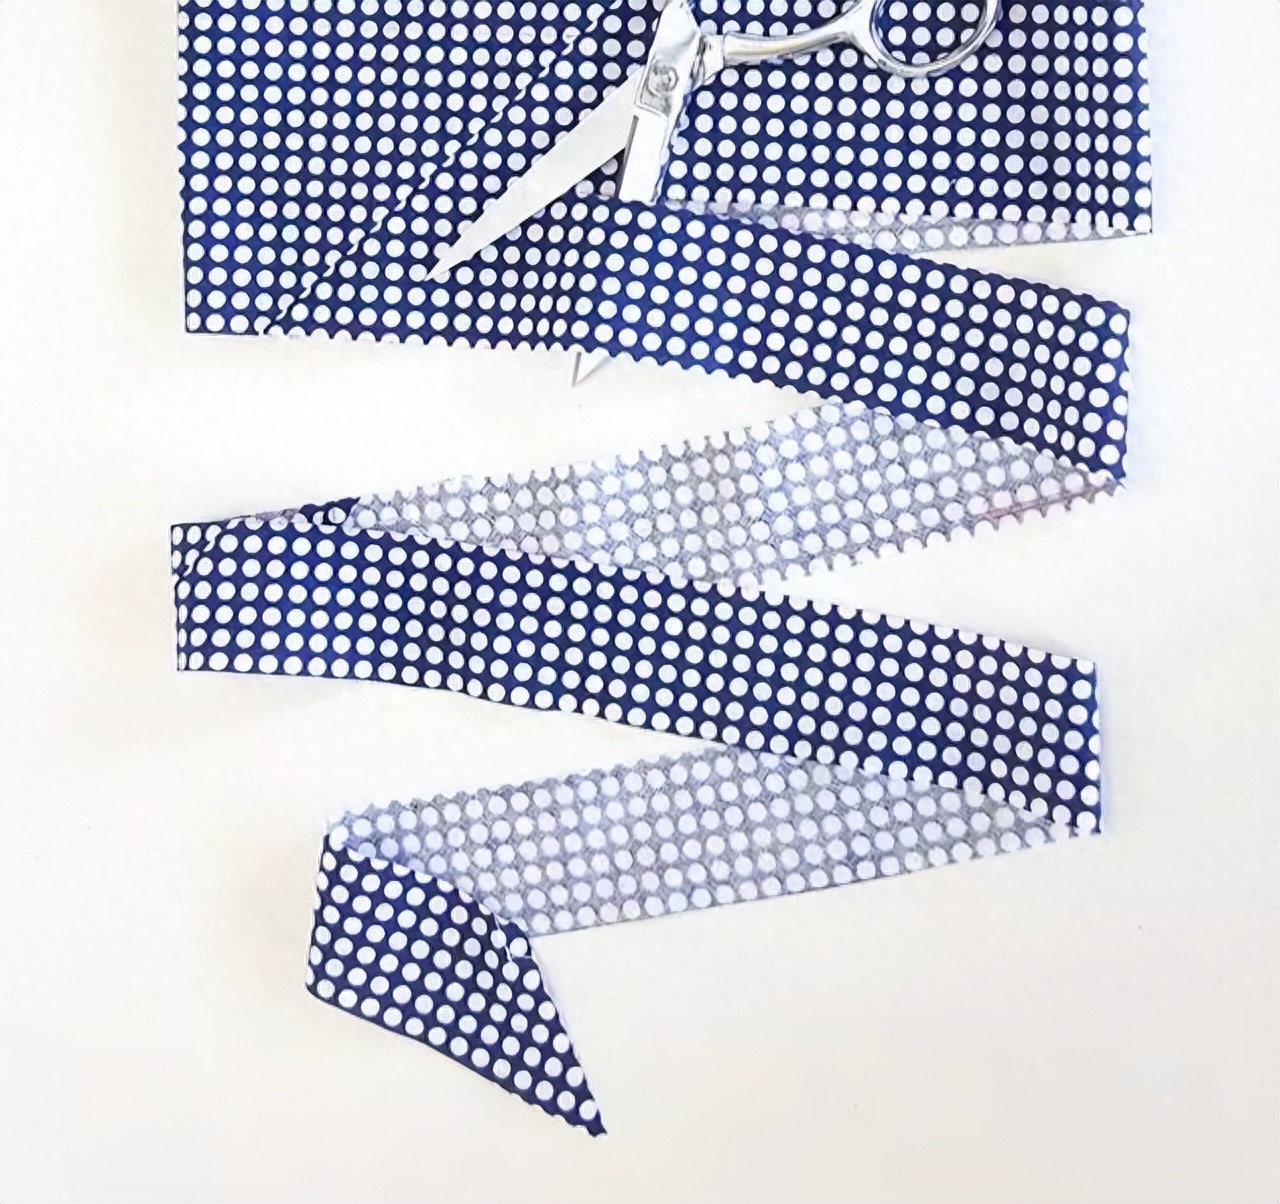
根据图纸裁剪,得到如下裁片。

4
使用铅笔将设计转移到易熔网。切割每个部件。

将易熔网背面放在毛毡上。按照说明将各层熔合在一起。

裁剪出各部位形状。

5
将每片融合毛毡分层,重新组合你设计的图案。使用水溶性标记工具标记背景上的位置。

从最底层开始,开始剥离毛毡背面的纸张并将它们粘附在背景上。

小心的压烫。

6
第一层粘附在背景上,使用缝纫机在毛毡周围缝边。你可以使用直线针迹来获得干净简洁的外观,或者更具装饰性的东西。

重复步骤。

添加一些小细节。

做在衣服上。


2022胜家新机上市,c7205全自动缝纫机,外观流线型设计,简洁而时尚


内置200种缝纫线迹
200种缝纫线迹,基本满足家用缝纫需求,装饰线迹,锁扣眼一应俱全,效果众多


自动剪线
轻触面板剪刀标志,即可割断缝线,方便操作一步到位

LCD显示屏
更直观展示机针位置,梭芯绕线器位置,推荐压脚,选择的线迹,纽扣孔杆位置,线迹宽度,线迹长度,操作更方便

吃厚能力
70w功率,薄厚通吃,吃厚10层牛仔布料 布料轻松驾驭,不挑面料

[注:本文部分图片来自互联网!未经授权,不得转载!每天跟着我们读更多的书]
互推传媒文章转载自第三方或本站原创生产,如需转载,请联系版权方授权,如有内容如侵犯了你的权益,请联系我们进行删除!
如若转载,请注明出处:http://www.hfwlcm.com/info/26841.html
相关文章
-
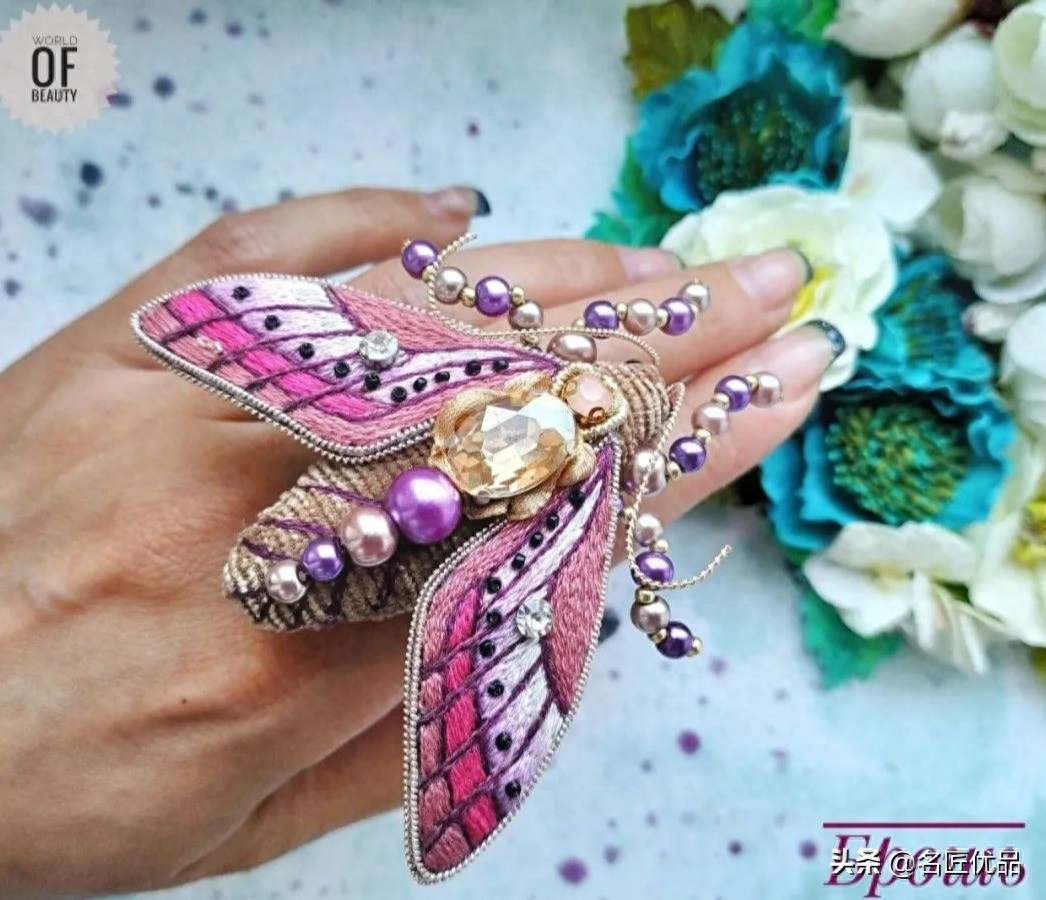
绣线珠子这些普通的材料,制作手工的时候就会剩下来很多。而制作大型一些的作品,材料不够用,那么就往小用品下手,比如制作几个华丽的小饰品,胸针或发饰,包包和衣服的装饰
-
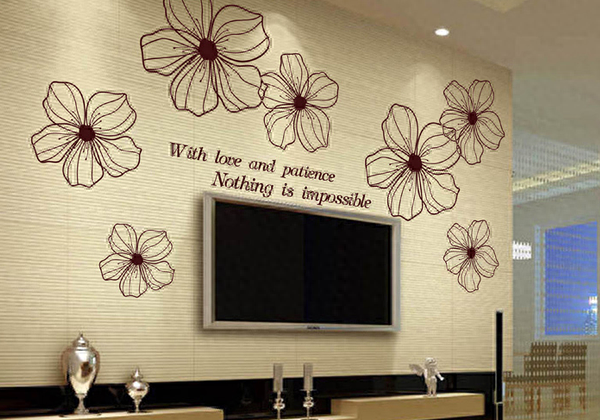
墙贴怎么贴?墙贴画贴法集合知识导读:用墙贴画装饰家居空间越来越成为一种时尚、流行,不仅因为墙贴画价格便宜,更换频率快,可以随心情改变自家的装饰装修,而且墙贴画图案
-
装修房子是一件令人头疼的事情,不仅要挑选好的材料,还要提前预算,花最少的钱装最好的房子,每个方面都要考虑的非常清楚。前几年人们装修的时候会选择用瓷砖来铺地,也有的
-

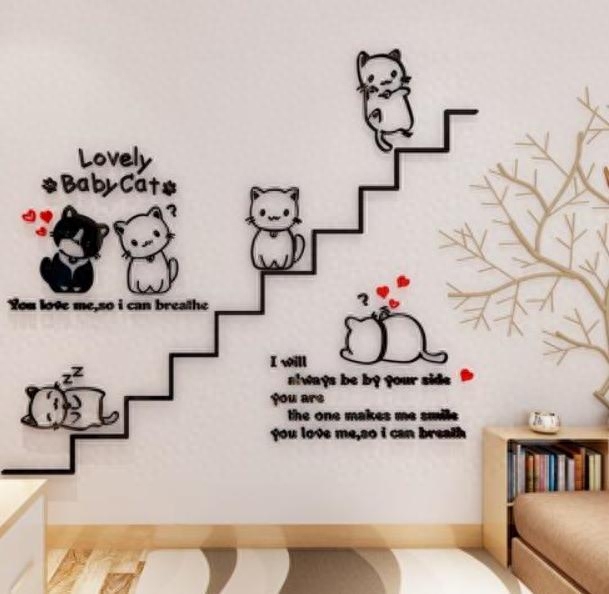
墙贴画可以使墙壁更加丰富有趣,但是许多人忽视了墙贴的施工方法。如果墙贴画起皱,装饰效果会大大降低。墙贴画操作中有许多细节,只要你多加小心,每个人都可以贴上完美的墙
-

墙贴,在家居中也深受人们的喜爱,一张好看的墙贴可以提高居住环境氛围,也是家中独特的装饰品。宝斯威3D墙贴打印机可在亚克力板打印高精细的图案再做成墙贴成为一种3D效果打印
-
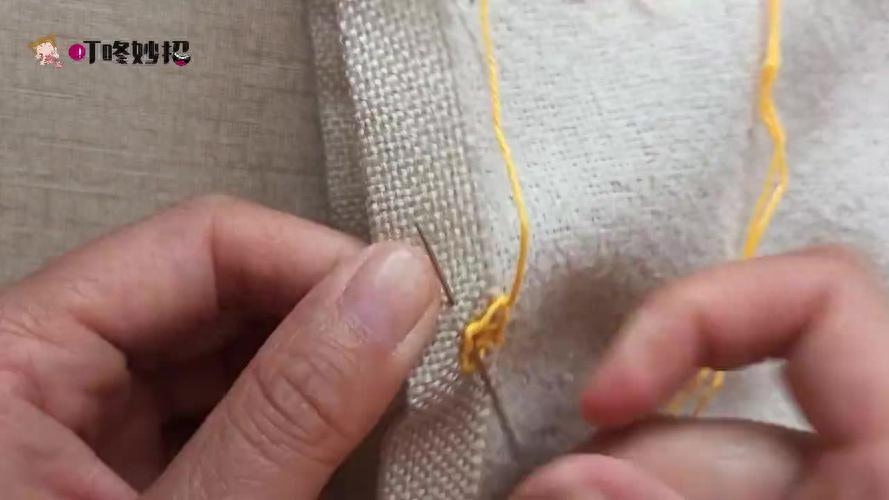
居家常用的锁边针法,和机器缝的一样精致,既简单又快速在现代社会,缝纫机已经成为许多家庭中不可或缺的工具,它们可以快速而精确地完成各种缝纫任务。然而,有时候你可能没
-
投角硬明腰线流畅精密机身稳重大方。常用功能一键设定操作简单轻松易学,参数调整更便捷拥有花样缝编辑功能,机器可储存9种花样,并能自由设置多种美观时尚的独特线迹,满足不
-
入圈指南:小编为大家准备了超多缝纫干货,欢迎大家点击下方【缝友社区by缝纫之家】小卡片,入圈探讨一起探讨一下吧~最后100个免费名额大家抓紧了!!!(此处已添加圈子卡片,